In this unit, you create a model-driven app by using one of the standard entities that are available in your Microsoft Power Apps environment.
Important
This hands-on lab assumes that you have a Dataverse instance that you can work with. If you don’t have an instance you can work with, you can obtain a 30-day Power Apps trial plan here.
Important
If you sign up for a Power Apps trial using your company email address, and your company is already using Power Apps, your trial will be added to your organization’s current tenant. If your current Microsoft account doesn’t already have the necessary permissions, you may not be able to add tables to your trial. In these instances, you can sign up for a new trial account that doesn’t use your work or school account. You can find instructions on how to do this here.
Create a model-driven app
Create a blank model-driven app
- Sign in to Power Apps by using your organizational account.
- Select the environment by you want by selecting your Environment on the top navigation bar. The environment you choose must include a Dataverse instance. NoteIf you need to create a new environment, navigate to the Power Platform admin center. In the navigation pane, select Environments, select New and enter required settings.
- Using the navigation on the left, select + Create.
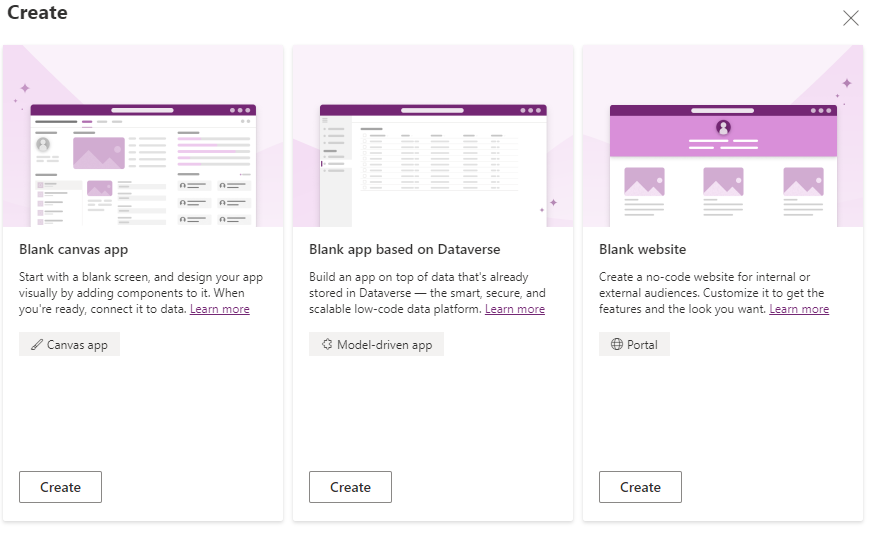
- On the Create your app page, in the Start from section, select Blank App.
- On the Create screen, select Blank app based on Dataverse, and select Create.
- On the New model-driven app page, enter a name and description for the app. (For example, enter “My first app” for the name, and “My first model-driven application” for the description.)
- After a few minutes, your new app will appear.
Add Account table to your app
You can add pages to your app by using the App Designer.
8. Select the Ellipsis (three dots) to the right of Navigation, and then select New group. On the right-hand side of the screen, change the Title to Customers.
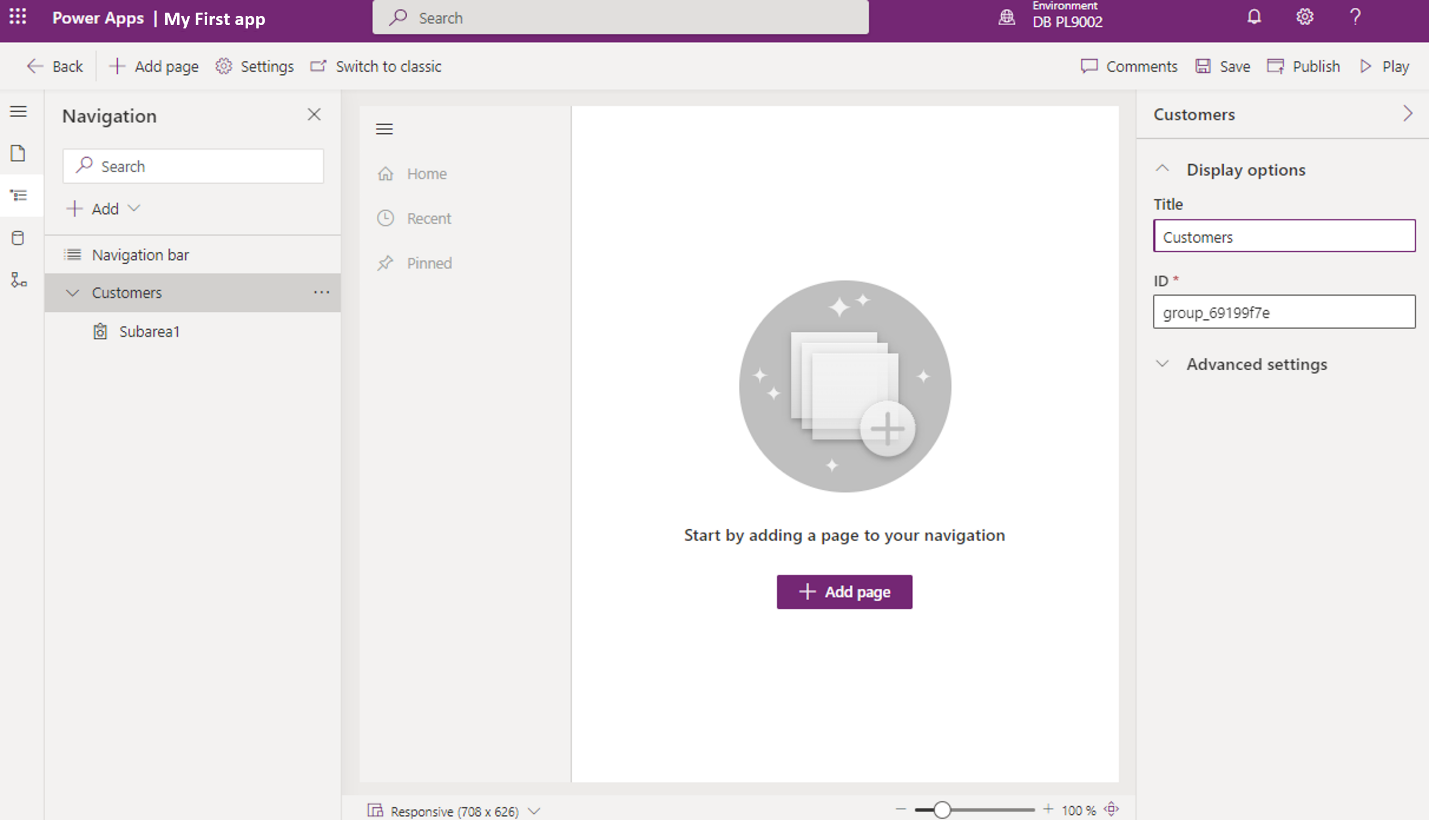
9. Select the + Add Page button in the center of the screen.
10. On the Add Page screen, select Dataverse table.
11. On the Select a table screen, select Account then select the Add button.
Note
Your environment may not contain an account table. If that’s the case, you’ll need to create one. Go to the home screen and select Tables, and select + New table. On the top action bar, select New table. In the form that appears, select Create new tables. On the top action bar, select + New table. In the form that appears, select Describe new tables. In the describe new tables for, write in Account and select Generate. Once the table has been generated, select Save and exit.
SEE WEBSITE!